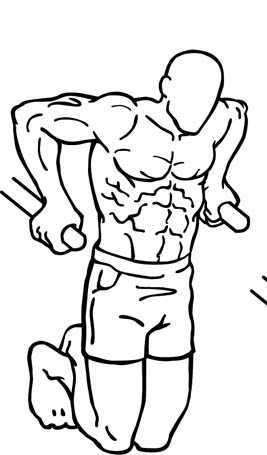
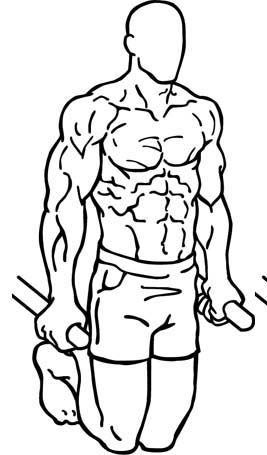
141 | Short List | Dips | JUMPS & ADDITIONAL EXERCISES | On Parallel bars | On Parallel bars | ![](http://wl-log.com/backend/web/images/exercises/Dips-Start.jpg) | ![](http://wl-log.com/backend/web/images/exercises/Dips-End.jpg) | ![](http://wl-log.com/backend/web/images/exercises/Dips-Start+End.jpg) |
142 | Short List | Push-Ups | JUMPS & ADDITIONAL EXERCISES | Start in a lying position | Push-Up in a lying position | ![](http://wl-log.com/backend/web/images/exercises/Push-Ups-Start.jpg) | ![](http://wl-log.com/backend/web/images/exercises/Push-Ups-End.jpg) | ![](http://wl-log.com/backend/web/images/exercises/Push-Ups-MOV.gif) |
143 | Short List | Snatch Balance + Overhead Squat | COMBINED EXERCISES | From Stands - Behind the Neck | Over Head in Deep Squat | ![](http://wl-log.com/backend/web/images/exercises/Snatch-to-Half-Squat.jpg) | ![](http://wl-log.com/backend/web/images/exercises/Snatch-Deep-END.jpg) | ![](http://wl-log.com/backend/web/images/exercises/Snatch-188kg.gif) |
144 | Short List | Push-Press + Snatch Balance + Overhead Squat | COMBINED EXERCISES | From Stands - Behind the Neck | Over Head to Deep Squat | ![](http://wl-log.com/backend/web/images/exercises/Push-Press-Behind-the-Nekk+OHS-Start.jpg) | ![](http://wl-log.com/backend/web/images/exercises/Push-Press-Behind-the-Nekk+OHS-End.jpg) | ![](http://wl-log.com/backend/web/images/exercises/Push-Press-Behind-the-Nekk+OH-Squat.gif) |
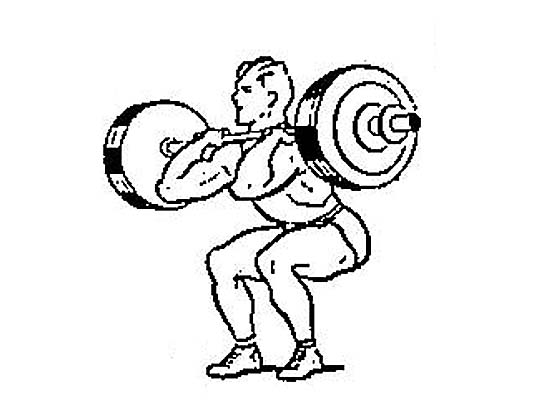
145 | Short List | Front Squat + Jerk | COMBINED EXERCISES | from Racks | Over Head - Split Jerk | ![](http://wl-log.com/backend/web/images/exercises/Clean-Fixation-Half-Squat.jpg) | ![](http://wl-log.com/backend/web/images/exercises/Front Squat & Jerk.jpg) | ![](http://wl-log.com/backend/web/images/exercises/Clean+Power-Jerk.gif) |
146 | Short List | Thruster to Split Jerk | COMBINED EXERCISES | From Deep Front Squat Position | Split Jerk Position | ![](http://wl-log.com/backend/web/images/exercises/Start-Split Jerk from Deap Squat.jpg) | ![](http://wl-log.com/backend/web/images/exercises/End-Split Jerk from Deap Squat.jpg) | ![](http://wl-log.com/backend/web/images/exercises/ACTION-Split Jerk from Deap Squat.jpg) |
147 | Short List | Clean + Squat | COMBINED EXERCISES | From the Platform | Deep Front Squat | ![](http://wl-log.com/backend/web/images/exercises/Clean-Start.jpg) | ![](http://wl-log.com/backend/web/images/exercises/Clean-Fixation-Deep-Squat.jpg) | ![](http://wl-log.com/backend/web/images/exercises/Clean-Deep-220kg-Ilya.jpg) |
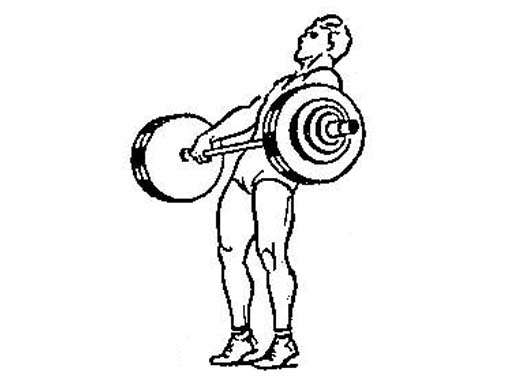
148 | Short List | Back Squat + Press | COMBINED EXERCISES | Barbell behined the Neck | Over Head | ![](http://wl-log.com/backend/web/images/exercises/Clean-Fixation-Half-Squat.jpg) | ![](http://wl-log.com/backend/web/images/exercises/POWER-JERK.jpg) | ![](http://wl-log.com/backend/web/images/exercises/Power_Clean+Power_Jerk.gif) |
149 | Short List | Push-Press (Behind the Neck) + Overhead Squat | COMBINED EXERCISES | from Racks | Over Head to Deep Squat | ![](http://wl-log.com/backend/web/images/exercises/Push-Press-Behind-the-Nekk+OHS-Start.jpg) | ![](http://wl-log.com/backend/web/images/exercises/Push-Press-Behind-the-Nekk+OHS-End.jpg) | ![](http://wl-log.com/backend/web/images/exercises/Push-Press-Behind-the-Nekk+OH-Squat.gif) |
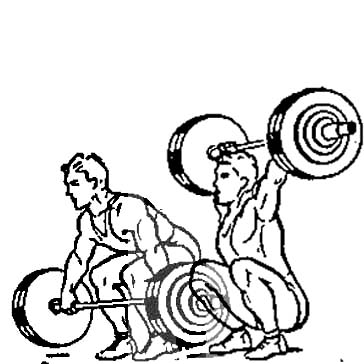
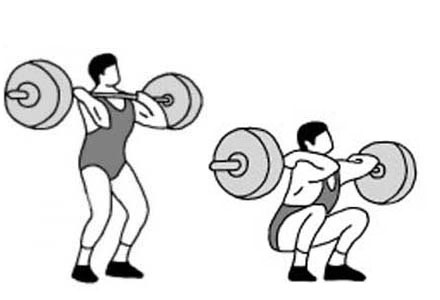
150 | Short List | Clean Pull + Clean + Squat | COMBINED EXERCISES | From the Platform | On the Chest | ![](http://wl-log.com/backend/web/images/exercises/CLEAN-PULLS.jpg) | ![](http://wl-log.com/backend/web/images/exercises/Clean-Fixation-Deep-Squat.jpg) | ![](http://wl-log.com/backend/web/images/exercises/Clean.gif) |
151 | Short List | Clean Pull + Clean | COMBINED EXERCISES | From the Platform | On the Chest | ![](http://wl-log.com/backend/web/images/exercises/CLEAN-PULLS.jpg) | ![](http://wl-log.com/backend/web/images/exercises/Clean-Fixation-Deep-Squat.jpg) | ![](http://wl-log.com/backend/web/images/exercises/Clean.gif) |
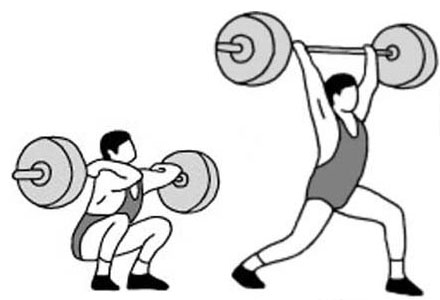
152 | Short List | Clean + Squat + Power Jerk | COMBINED EXERCISES | Platform | Over Head to Quarter Squat | ![](http://wl-log.com/backend/web/images/exercises/Power-Clean-Pos.jpg) | ![](http://wl-log.com/backend/web/images/exercises/Power-Jerk-Fix.jpg) | ![](http://wl-log.com/backend/web/images/exercises/Power CLEAN & JERK.gif) |
153 | Short List | Snatch Pull + Snatch + Over Head Squat | COMBINED EXERCISES | Platform | Over Head to Deep Squat | ![](http://wl-log.com/backend/web/images/exercises/Snatch-Technique-PULL.jpg) | ![](http://wl-log.com/backend/web/images/exercises/Snatch-to-Half-Squat.jpg) | ![](http://wl-log.com/backend/web/images/exercises/Snatch-188kg.gif) |
154 | Short List | Pull + Clean + Squat + Push-Press | COMBINED EXERCISES | Platform | Over Head to Half Squat | ![](http://wl-log.com/backend/web/images/exercises/Clean-Fixation-Half-Squat.jpg) | ![](http://wl-log.com/backend/web/images/exercises/POWER-JERK.jpg) | ![](http://wl-log.com/backend/web/images/exercises/Clean+Power-Jerk.gif) |
155 | Short List | Snatch + Snatch from Hang | COMBINED EXERCISES | Platform | Over Head | ![](http://wl-log.com/backend/web/images/exercises/SNATCH-Hang-Start-Below-Knees.jpg) | ![](http://wl-log.com/backend/web/images/exercises/SNATCH-Half-Squat-Fixation.jpg) | ![](http://wl-log.com/backend/web/images/exercises/SNATCH to Half Squat.gif) |
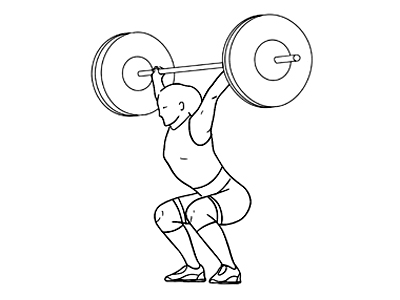
156 | Short List | SNATCH + Push Press + Overhead Squat | COMBINED EXERCISES | Platform | Over Head to Deep Squat | ![](http://wl-log.com/backend/web/images/exercises/SNATCH-Start-Platform.jpg) | ![](http://wl-log.com/backend/web/images/exercises/SNATCH-Half-Squat-Fixation.jpg) | ![](http://wl-log.com/backend/web/images/exercises/Push JERK (Behind the Neck) Snatch Grip.gif) |
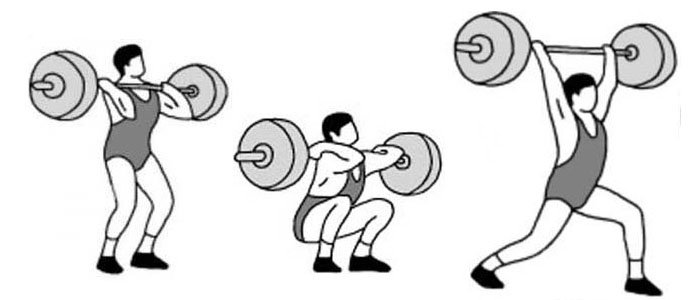
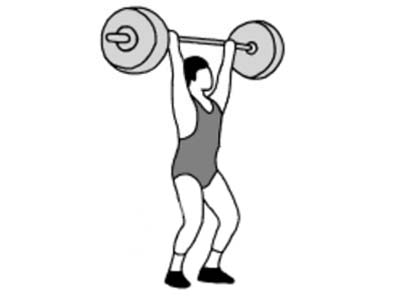
157 | Short List | THRUSTER (Squat + Push-Press) | COMBINED EXERCISES | from the Chest | Over Head - Straight Legs | ![](http://wl-log.com/backend/web/images/exercises/Clean-Power-Fixation.jpg) | ![](http://wl-log.com/backend/web/images/exercises/Power-Jerk-Fix.jpg) | ![](http://wl-log.com/backend/web/images/exercises/Front-SQUAT-S.gif) |
158 | Short List | Pull + Clean + Squat + Jerk | COMBINED EXERCISES | From the Platform | Over Head | ![](http://wl-log.com/backend/web/images/exercises/Clean-Fixation-Half-Squat.jpg) | ![](http://wl-log.com/backend/web/images/exercises/JERK-SPLT.jpg) | ![](http://wl-log.com/backend/web/images/exercises/Clean+Power-Jerk.gif) |
159 | Short List | Pull + Snatch + Snatch from Hang | COMBINED EXERCISES | From Platform | Over Head | ![](http://wl-log.com/backend/web/images/exercises/Snach-Pull-Star-End.jpg) | ![](http://wl-log.com/backend/web/images/exercises/Snach-Star-End.jpg) | ![](http://wl-log.com/backend/web/images/exercises/Snatch.gif) |
160 | Short List | Muscle Snatch + Overhead Squat | COMBINED EXERCISES | From the Platform or Hang | Over Head to Deep Squat | ![](http://wl-log.com/backend/web/images/exercises/Snatch-No-Squat.jpg) | ![](http://wl-log.com/backend/web/images/exercises/Snatch-Deep-END.jpg) | ![](http://wl-log.com/backend/web/images/exercises/Snatch-188kg.gif) |