121 | Short List | Snatch Pull + Snatch | COMBINED EXERCISES | From Platform | Overhead to Deep Squat | ![](http://wl-log.com/backend/web/images/exercises/SNATCH-PULL-GEO.jpg) | ![](http://wl-log.com/backend/web/images/exercises/SNATCH-FIXATION.jpg) | ![](http://wl-log.com/backend/web/images/exercises/New-SN-Clip.gif) |
122 | Short List | Bent Over Barbell Row | JUMPS & ADDITIONAL EXERCISES | Hang Below the Knee | Pull to Low AB's | ![](http://wl-log.com/backend/web/images/exercises/Bent Over Barbell Row - End - 1.png) | ![](http://wl-log.com/backend/web/images/exercises/Bent Over Barbell Row - End - 1.png) | ![](http://wl-log.com/backend/web/images/exercises/Bent Over Barbell Row - Start and End.png) |
123 | Short List | Horizontal Pull Ups | JUMPS & ADDITIONAL EXERCISES | from hang on Horizontal Bar | Pulling chest to Ba | ![](http://wl-log.com/backend/web/images/exercises/Horizontal-Pull-Ups-the-Start.jpg) | ![](http://wl-log.com/backend/web/images/exercises/Horizontal-Pull-Ups-the-End.jpg) | ![](http://wl-log.com/backend/web/images/exercises/Horizontal-Pull-Ups-MOV.gif) |
124 | Short List | Push-Ups | JUMPS & ADDITIONAL EXERCISES | Start in a lying position | Push-Up in a lying position | ![](http://wl-log.com/backend/web/images/exercises/Push-Ups-Start.jpg) | ![](http://wl-log.com/backend/web/images/exercises/Push-Ups-End.jpg) | ![](http://wl-log.com/backend/web/images/exercises/Push-Ups-MOV.gif) |
125 | Short List | Rowing on a Row Machine | JUMPS & ADDITIONAL EXERCISES | Sitting on Row Machine | Pushing Legs and Pulling Arms | ![](http://wl-log.com/backend/web/images/exercises/Rowing Start W.jpg) | ![](http://wl-log.com/backend/web/images/exercises/Rowong Finish W.jpg) | ![](http://wl-log.com/backend/web/images/exercises/Rowing Start & Finish - Action W.jpg) |
126 | Short List | Muscle ups on Rings | JUMPS & ADDITIONAL EXERCISES | Hanging on the Rings | Resting on rings on both hands | ![](http://wl-log.com/backend/web/images/exercises/Muscle Ups Rings START.jpg) | ![](http://wl-log.com/backend/web/images/exercises/Muscle Ups Rings FINISH.jpg) | ![](http://wl-log.com/backend/web/images/exercises/Muscle Ups Rings.jpg) |
127 | Short List | Muscle ups on the Horizontal Bar | JUMPS & ADDITIONAL EXERCISES | Hanging on the horizontal bar | Resting on the Bar | ![](http://wl-log.com/backend/web/images/exercises/Muscle Ups Bar Start.jpg) | ![](http://wl-log.com/backend/web/images/exercises/Muscle Ups Bar Finish.jpg) | ![](http://wl-log.com/backend/web/images/exercises/Muscle Ups Bar W.jpg) |
128 | Short List | Upright Row | JUMPS & ADDITIONAL EXERCISES | from the hang | Row to Chin | ![](http://wl-log.com/backend/web/images/exercises/Barbell-Upright-Row-Start.jpg) | ![](http://wl-log.com/backend/web/images/exercises/Barbell-Upright-Row-End.jpg) | ![](http://wl-log.com/backend/web/images/exercises/Barbell-Upright-Row-Mov.gif) |
129 | Short List | Running | JUMPS & ADDITIONAL EXERCISES | Standing | Running | ![](http://wl-log.com/backend/web/images/exercises/Running icon.jpg) | ![](http://wl-log.com/backend/web/images/exercises/Running icon W.jpg) | ![](http://wl-log.com/backend/web/images/exercises/Running on Tradmil M.jpg) |
130 | Short List | Recovery Sauna Massage Jacuzzi | JUMPS & ADDITIONAL EXERCISES | Recovery Sauna Massage Jacuzi | Sauna Jacuzzi Massage | ![](http://wl-log.com/backend/web/images/exercises/JACUZZI-31.jpg) | ![](http://wl-log.com/backend/web/images/exercises/download.jpg) | ![](http://wl-log.com/backend/web/images/exercises/sauna-jacuzzi-saint-omer.jpg) |
131 | Short List | Split JERK Behind the Neck | JERK (from Chest) | from Racks / Behind the Neck | Split - Over Head | ![](http://wl-log.com/backend/web/images/exercises/Clean-Fixation-No-Squat.jpg) | ![](http://wl-log.com/backend/web/images/exercises/JERK-SPLT.jpg) | ![](http://wl-log.com/backend/web/images/exercises/Clean+Power-Jerk.gif) |
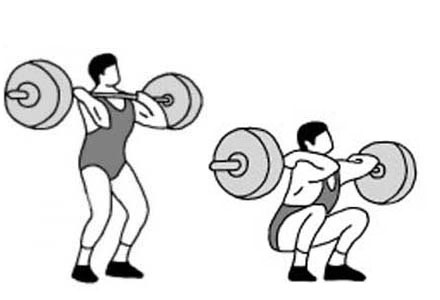
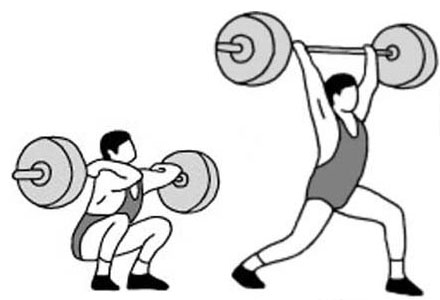
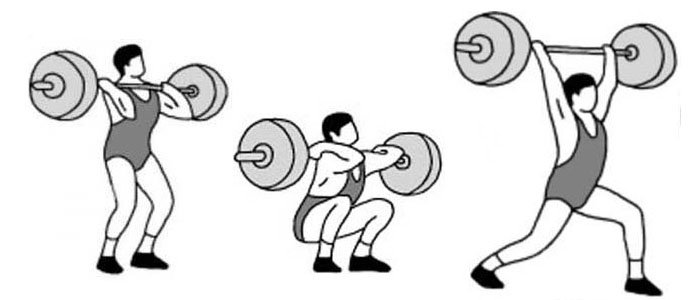
132 | Short List | JERK | JERK (from Chest) | From Racks | Split - Over Head | ![](http://wl-log.com/backend/web/images/exercises/Jerk-Stands-Start-300x400.jpg) | ![](http://wl-log.com/backend/web/images/exercises/Jerk-Stands-Split-300x400.jpg) | ![](http://wl-log.com/backend/web/images/exercises/JERK-Split-Stands-sb29x.gif) |
133 | Short List | Thruster to Split Jerk | COMBINED EXERCISES | From Deep Front Squat Position | Split Jerk Position | ![](http://wl-log.com/backend/web/images/exercises/Start-Split Jerk from Deap Squat.jpg) | ![](http://wl-log.com/backend/web/images/exercises/End-Split Jerk from Deap Squat.jpg) | ![](http://wl-log.com/backend/web/images/exercises/ACTION-Split Jerk from Deap Squat.jpg) |
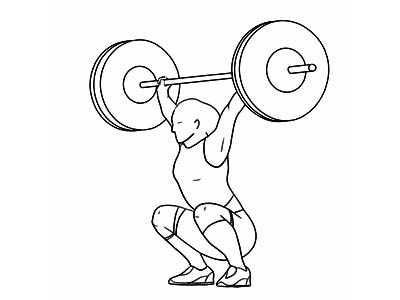
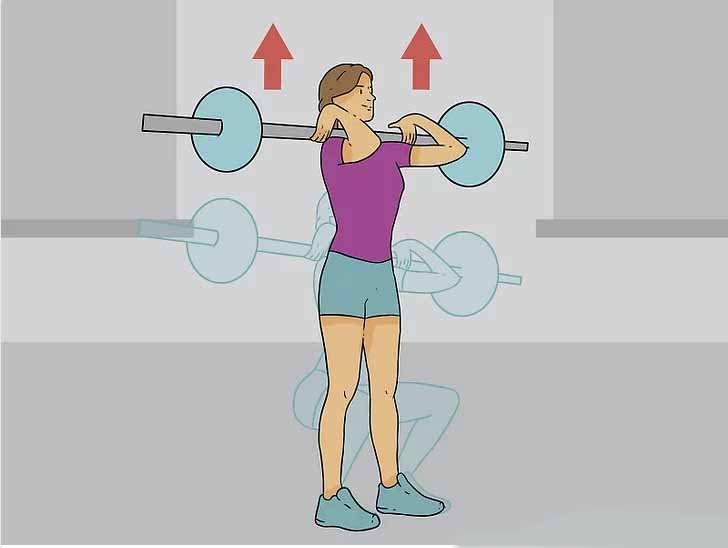
134 | Short List | Parallel Front SQUAT | SQUAT | Standing | Squat | ![](http://wl-log.com/backend/web/images/exercises/Parallel-Squat-Start.jpg) | ![](http://wl-log.com/backend/web/images/exercises/Parallel-Squat-Deep.jpg) | ![](http://wl-log.com/backend/web/images/exercises/Parallel-Front-Squat.gif) |
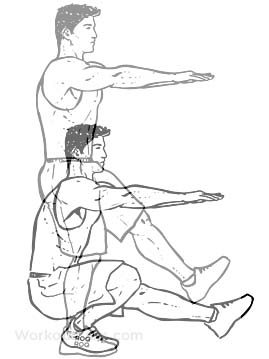
135 | Short List | Pistol Squat | JUMPS & ADDITIONAL EXERCISES | Standing on One Leg | Squat on One Leg | ![](http://wl-log.com/backend/web/images/exercises/Pistol Squat Start.jpg) | ![](http://wl-log.com/backend/web/images/exercises/Pistol Squat Action.jpg) | ![](http://wl-log.com/backend/web/images/exercises/Pistol Squat Start & Finish W.jpg) |
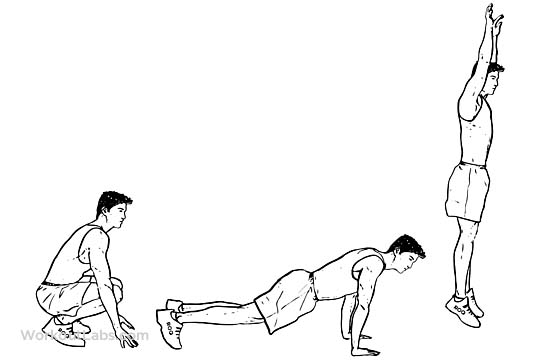
136 | Short List | Burpees | JUMPS & ADDITIONAL EXERCISES | Standing on both feet | Standing on both feet | ![](http://wl-log.com/backend/web/images/exercises/Burpees-Start-Finish-Men.jpg) | ![](http://wl-log.com/backend/web/images/exercises/Burpees-Start-Finish-Wl.jpg) | ![](http://wl-log.com/backend/web/images/exercises/Burpees-Start-&-Finish-Full-Cycle-Men.jpg) |
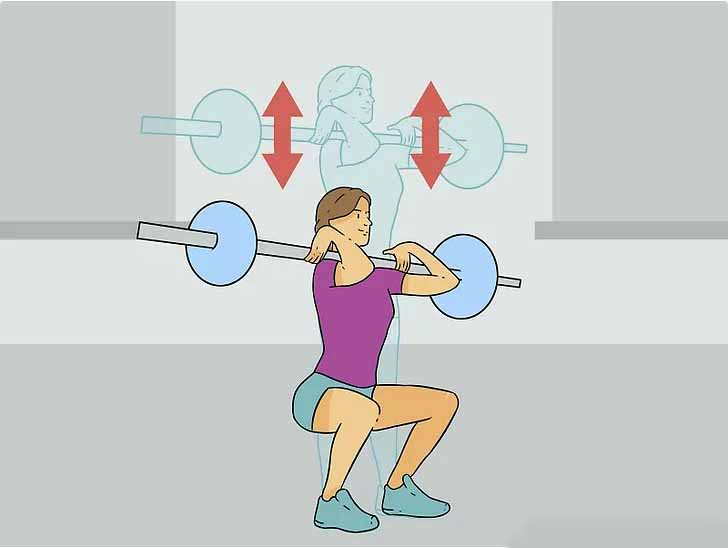
137 | Short List | Back Squat (Spotted) | SQUAT | from Racks to Deep Squat | standing position | ![](http://wl-log.com/backend/web/images/exercises/Squat-Star-and-Deep.jpg) | ![](http://wl-log.com/backend/web/images/exercises/Squat-Deep.jpg) | ![](http://wl-log.com/backend/web/images/exercises/Back_SQUAT (1).gif) |
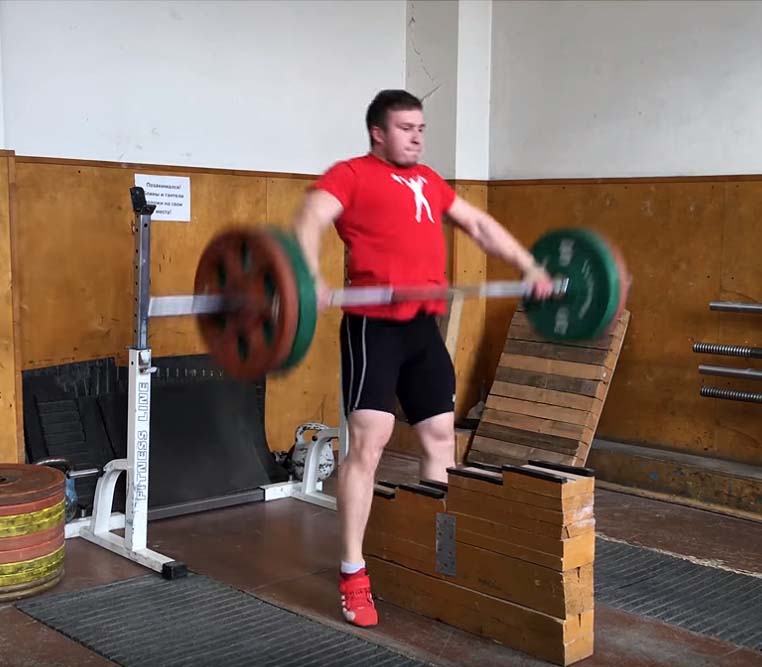
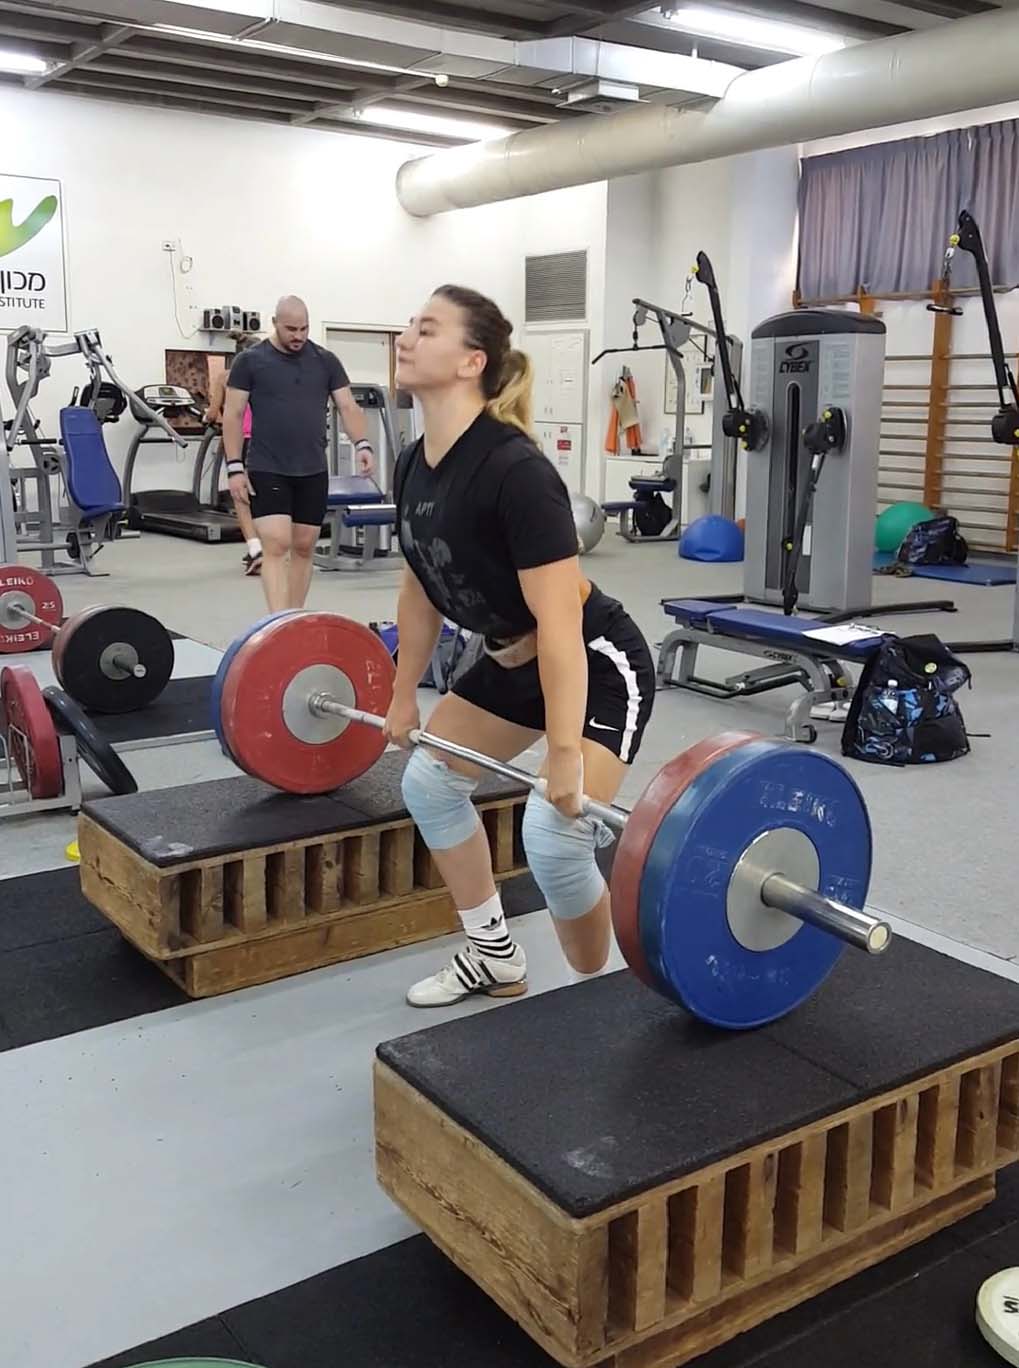
138 | Short List | Snatch PULL from Mono-Block | PULL | from the Mono-Block | Straightened Legs | ![](http://wl-log.com/backend/web/images/exercises/SNATCH-from-Mono_Block-START.jpg) | ![](http://wl-log.com/backend/web/images/exercises/SNATCH-from-Mono_Block-PULL.jpg) | ![](http://wl-log.com/backend/web/images/exercises/SNATCH-from_Monoblock.gif) |
139 | Short List | Clean PULL from Mono-Block | PULL | from the Mono-Block | Straightened Legs | ![](http://wl-log.com/backend/web/images/exercises/Clean-Blocks-Start.jpg) | ![](http://wl-log.com/backend/web/images/exercises/Clean-Blocks-Deep-Squat.jpg) | ![](http://wl-log.com/backend/web/images/exercises/Nicole-Clean-Blocks-Crop.gif) |
140 | Short List | Split Squat | JUMPS & ADDITIONAL EXERCISES | from Racks | Straightened Legs | ![](http://wl-log.com/backend/web/images/exercises/Lunge Starting Pos.jpg) | ![](http://wl-log.com/backend/web/images/exercises/Lunge Finishing Pos.jpg) | ![](http://wl-log.com/backend/web/images/exercises/Split-Back-SQUAT.jpg) |