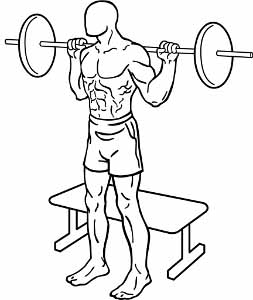
1 | Short List | Upright Row | JUMPS & ADDITIONAL EXERCISES | from the hang | Row to Chin | ![](http://wl-log.com/backend/web/images/exercises/Barbell-Upright-Row-Start.jpg) | ![](http://wl-log.com/backend/web/images/exercises/Barbell-Upright-Row-End.jpg) | ![](http://wl-log.com/backend/web/images/exercises/Barbell-Upright-Row-Mov.gif) |
2 | Short List | Toes to Bar | JUMPS & ADDITIONAL EXERCISES | Hanging on the horizontal bar | Toes to bar | ![](http://wl-log.com/backend/web/images/exercises/Toes to Bar.jpg) | ![](http://wl-log.com/backend/web/images/exercises/Toes to Bar Finish W.jpg) | ![](http://wl-log.com/backend/web/images/exercises/Toes to Bar Start & Finish W.jpg) |
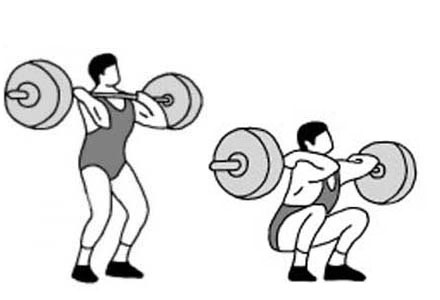
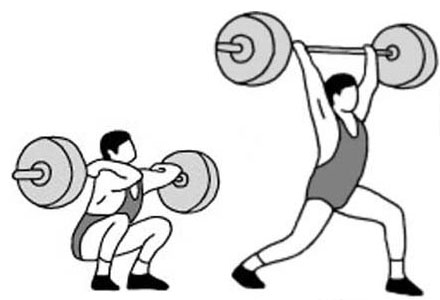
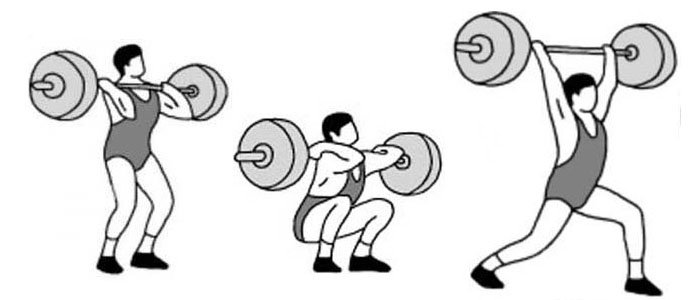
3 | Short List | Thruster to Split Jerk | COMBINED EXERCISES | From Deep Front Squat Position | Split Jerk Position | ![](http://wl-log.com/backend/web/images/exercises/Start-Split Jerk from Deap Squat.jpg) | ![](http://wl-log.com/backend/web/images/exercises/End-Split Jerk from Deap Squat.jpg) | ![](http://wl-log.com/backend/web/images/exercises/ACTION-Split Jerk from Deap Squat.jpg) |
4 | Short List | THRUSTER (Squat + Push-Press) | COMBINED EXERCISES | from the Chest | Over Head - Straight Legs | ![](http://wl-log.com/backend/web/images/exercises/Clean-Power-Fixation.jpg) | ![](http://wl-log.com/backend/web/images/exercises/Power-Jerk-Fix.jpg) | ![](http://wl-log.com/backend/web/images/exercises/Front-SQUAT-S.gif) |
5 | Short List | Standing Long Jump* (cm) | JUMPS & ADDITIONAL EXERCISES | Standing with Both Feet | Landing on Both Feet | ![](http://wl-log.com/backend/web/images/exercises/Long Jump Start.jpg) | ![](http://wl-log.com/backend/web/images/exercises/Long Jump Action 1.jpg) | ![](http://wl-log.com/backend/web/images/exercises/Double-Long-Jump.gif) |
6 | Short List | SQUAT to Bench | SQUAT | Barbell behind the neck | Touching the Bench | ![](http://wl-log.com/backend/web/images/exercises/Squat-to-Bench-Start-1.jpg) | ![](http://wl-log.com/backend/web/images/exercises/Squat-to-Bench-End.jpg) | ![](http://wl-log.com/backend/web/images/exercises/Barbell-Squats-to-Bench-1.jpg) |
7 | Long List | Squat JERK Behind the Neck | JERK (from Chest) | from Racks | Over Head to Deep Squat | ![](http://wl-log.com/backend/web/images/exercises/Deep-Squat-Jerk-Start.jpg) | ![](http://wl-log.com/backend/web/images/exercises/Deep-Squat-Jerk-End.jpg) | ![](http://wl-log.com/backend/web/images/exercises/Deep-Squat-Jerk-End.jpg) |
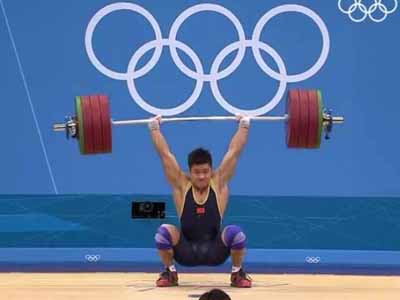
8 | Short List | Squat JERK | JERK (from Chest) | from Racks | Over Head to Deep Squat | ![](http://wl-log.com/backend/web/images/exercises/Deep-Squat-Jerk-Start.jpg) | ![](http://wl-log.com/backend/web/images/exercises/Deep-Squat-Jerk-End.jpg) | ![](http://wl-log.com/backend/web/images/exercises/Clean+Power-Jerk.gif) |
9 | Short List | Split Squat | JUMPS & ADDITIONAL EXERCISES | from Racks | Straightened Legs | ![](http://wl-log.com/backend/web/images/exercises/Lunge Starting Pos.jpg) | ![](http://wl-log.com/backend/web/images/exercises/Lunge Finishing Pos.jpg) | ![](http://wl-log.com/backend/web/images/exercises/Split-Back-SQUAT.jpg) |
10 | Short List | Split Push JERK | JERK (from Chest) | with bar on the chest | Over Head | ![](http://wl-log.com/backend/web/images/exercises/SPLIT-Push-JERK-START.jpg) | ![](http://wl-log.com/backend/web/images/exercises/SPLIT-Push-JERK-END.jpg) | ![](http://wl-log.com/backend/web/images/exercises/SPLIT-Push-JERK-1.gif) |
11 | Short List | Split JERK Behind the Neck | JERK (from Chest) | from Racks / Behind the Neck | Split - Over Head | ![](http://wl-log.com/backend/web/images/exercises/Clean-Fixation-No-Squat.jpg) | ![](http://wl-log.com/backend/web/images/exercises/JERK-SPLT.jpg) | ![](http://wl-log.com/backend/web/images/exercises/Clean+Power-Jerk.gif) |
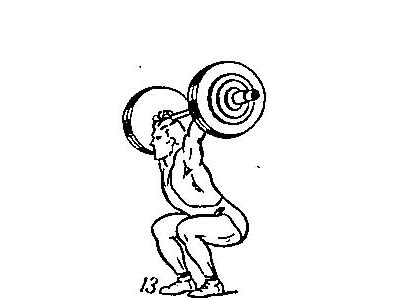
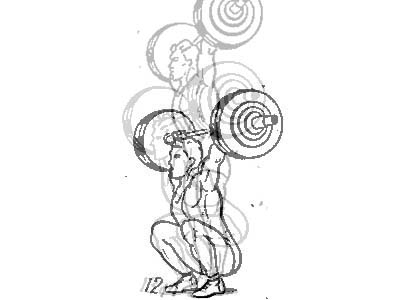
12 | Short List | Sots Press in Deep Squat - Wide Grip | PRESS | Deep Squat Bar Behind the Neck | Over Head in Deep Squat | ![](http://wl-log.com/backend/web/images/exercises/Snatch-Deep-END.jpg) | ![](http://wl-log.com/backend/web/images/exercises/Snatch-Deep-END.jpg) | ![](http://wl-log.com/backend/web/images/exercises/Snatch-Deep-END.jpg) |
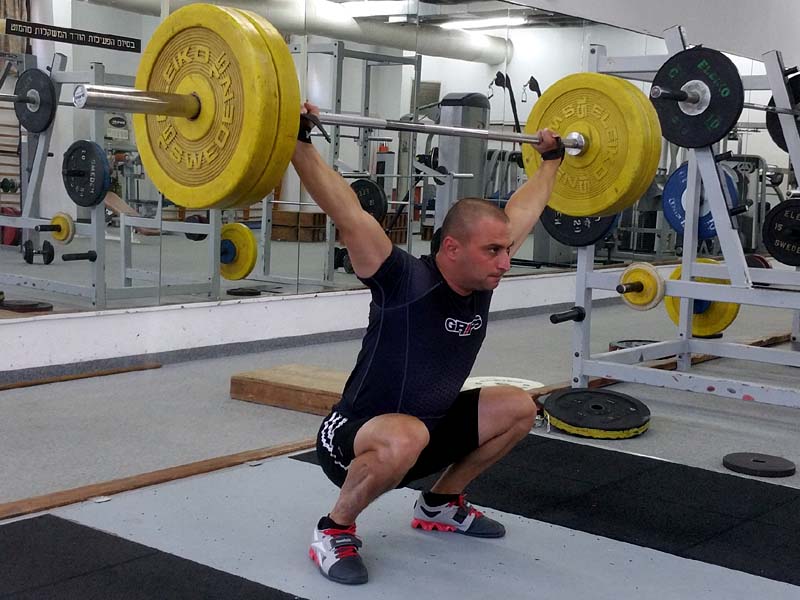
13 | Short List | SNATCH without Jumping (with force of arms) | SNATCH | from Platform | Over Head | ![](http://wl-log.com/backend/web/images/exercises/PIC-SN-03.jpg) | ![](http://wl-log.com/backend/web/images/exercises/PIC-SN-13.jpg) | ![](http://wl-log.com/backend/web/images/exercises/Snatch Classical.gif) |
14 | Long List | SNATCH to Half Squat | SNATCH | From the Platform | to Half Squat | ![](http://wl-log.com/backend/web/images/exercises/SNATCH-Start-Platform-1.jpg) | ![](http://wl-log.com/backend/web/images/exercises/SNATCH-END-Half-Squat-Straps.jpg) | ![](http://wl-log.com/backend/web/images/exercises/Snatch-from-Hang-to-Half-Squat-80kg-Alex-Short.gif) |
15 | Short List | SNATCH to Different Ending (fixation) Positions | SNATCH | Various starting Positions | Different Ending Positions | ![](http://wl-log.com/backend/web/images/exercises/Dif-Starts-3.jpg) | ![](http://wl-log.com/backend/web/images/exercises/Dif-Ends-3.jpg) | ![](http://wl-log.com/backend/web/images/exercises/Snatch-188kg.gif) |
16 | Long List | SNATCH Standing on a Block to Half Squat | SNATCH | Standing on a Pedestal | to Half Squat | ![](http://wl-log.com/backend/web/images/exercises/Start-on-Block.jpg) | ![](http://wl-log.com/backend/web/images/exercises/SNATCH-END-Half-Squat-Straps.jpg) | ![](http://wl-log.com/backend/web/images/exercises/Snatch-240-192-NQ.gif) |
17 | Long List | SNATCH Standing on a Block | SNATCH | Standing on a Block | to Deep Squat | ![](http://wl-log.com/backend/web/images/exercises/Start-on-Block.jpg) | ![](http://wl-log.com/backend/web/images/exercises/SNATCH-END-Deep-Squat-Straps.jpg) | ![](http://wl-log.com/backend/web/images/exercises/Snatch-240-192-NQ.gif) |
18 | Long List | Snatch PULL Standing on a Block | PULL | Standing on Pedestal | end of second pull | ![](http://wl-log.com/backend/web/images/exercises/Sart-Pedestal.jpg) | ![](http://wl-log.com/backend/web/images/exercises/Snatch Pull.jpg) | ![](http://wl-log.com/backend/web/images/exercises/Sntach-Pull.gif) |
19 | Short List | Snatch PULL from Mono-Block | PULL | from the Mono-Block | Straightened Legs | ![](http://wl-log.com/backend/web/images/exercises/SNATCH-from-Mono_Block-START.jpg) | ![](http://wl-log.com/backend/web/images/exercises/SNATCH-from-Mono_Block-PULL.jpg) | ![](http://wl-log.com/backend/web/images/exercises/SNATCH-from_Monoblock.gif) |
20 | Short List | Snatch PULL from Hang | PULL | Below Knee Level | Full Extension | ![](http://wl-log.com/backend/web/images/exercises/Snatch-Technique-Pics-03.jpg) | ![](http://wl-log.com/backend/web/images/exercises/Snatch-Technique-Pics-09.jpg) | ![](http://wl-log.com/backend/web/images/exercises/Sntach-Pull.gif) |