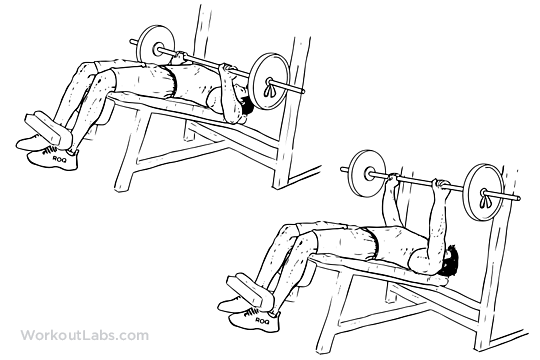
101 | Short List | Decline Press | PRESS | on the Decline Bench | On the Bench with Straight Arm | ![](http://wl-log.com/backend/web/images/exercises/DECLINE-BARBELL-BENCH-PRESS.png) | ![](http://wl-log.com/backend/web/images/exercises/Decline_Barbell_Bench_Press.png) | ![](http://wl-log.com/backend/web/images/exercises/decline-barbell-bench-press15-300x187.jpg) |
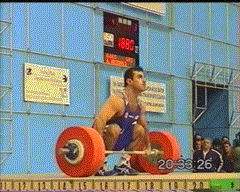
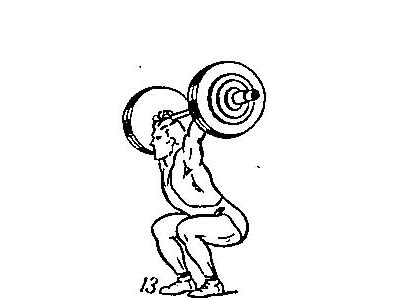
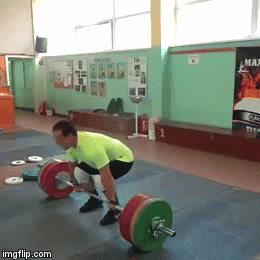
102 | Short List | Clean + Squat | COMBINED EXERCISES | From the Platform | Deep Front Squat | ![](http://wl-log.com/backend/web/images/exercises/Clean-Start.jpg) | ![](http://wl-log.com/backend/web/images/exercises/Clean-Fixation-Deep-Squat.jpg) | ![](http://wl-log.com/backend/web/images/exercises/Clean-Deep-220kg-Ilya.jpg) |
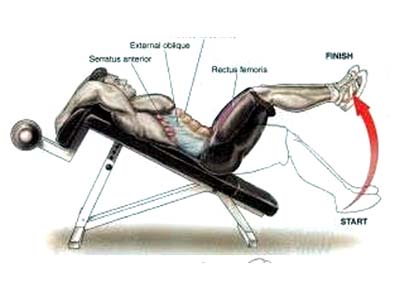
103 | Short List | ABs Abdominals | JUMPS & ADDITIONAL EXERCISES | Various | Various | ![](http://wl-log.com/backend/web/images/exercises/AB-Decline-Bench.jpg) | ![](http://wl-log.com/backend/web/images/exercises/AB-Leg-Raise-Decline-Bench.jpg) | ![](http://wl-log.com/backend/web/images/exercises/ABs-Nicole.gif) |
104 | Short List | Push-Press (Behind the Neck) + Overhead Squat | COMBINED EXERCISES | from Racks | Over Head to Deep Squat | ![](http://wl-log.com/backend/web/images/exercises/Push-Press-Behind-the-Nekk+OHS-Start.jpg) | ![](http://wl-log.com/backend/web/images/exercises/Push-Press-Behind-the-Nekk+OHS-End.jpg) | ![](http://wl-log.com/backend/web/images/exercises/Push-Press-Behind-the-Nekk+OH-Squat.gif) |
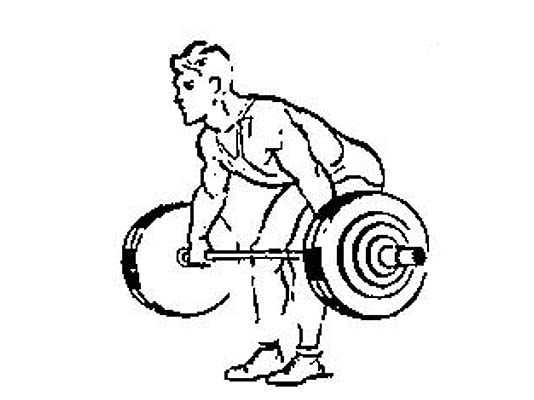
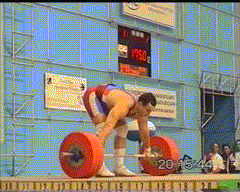
105 | Short List | Snatch PULL from Blocks | PULL | From Blocks | End of second pull | ![](http://wl-log.com/backend/web/images/exercises/Snatch-Hang-Knee.jpg) | ![](http://wl-log.com/backend/web/images/exercises/Snatch-Technique-PULL.jpg) | ![](http://wl-log.com/backend/web/images/exercises/Sntach-Pull.gif) |
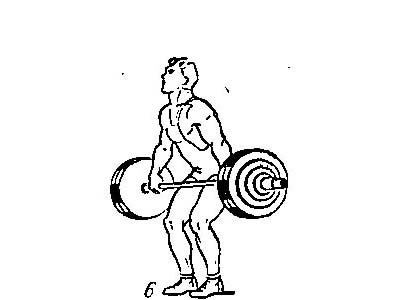
106 | Short List | Clean PULL from Hang | PULL | from Hang | End of second pull | ![](http://wl-log.com/backend/web/images/exercises/Clean-Hang-Start-B-K.jpg) | ![](http://wl-log.com/backend/web/images/exercises/Clean-Pull-End.jpg) | ![](http://wl-log.com/backend/web/images/exercises/Clean.gif) |
107 | Short List | Clean PULL from Blocks | PULL | from Blocks | End of second pull | ![](http://wl-log.com/backend/web/images/exercises/Clean-Hang-Start-K-L.jpg) | ![](http://wl-log.com/backend/web/images/exercises/Clean-Pull-End.jpg) | ![](http://wl-log.com/backend/web/images/exercises/Clean.gif) |
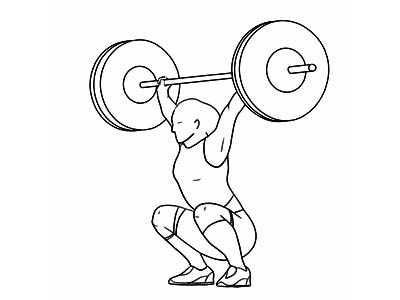
108 | Short List | Pause SNATCH | SNATCH | from Knee Level | Over Head | ![](http://wl-log.com/backend/web/images/exercises/SNATCH-HANG-START.jpg) | ![](http://wl-log.com/backend/web/images/exercises/SNATCH-FIXATION.jpg) | ![](http://wl-log.com/backend/web/images/exercises/Snatch.gif) |
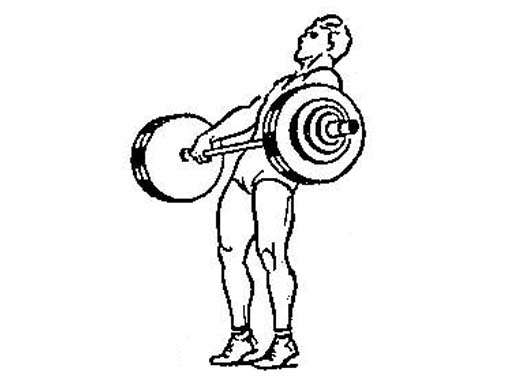
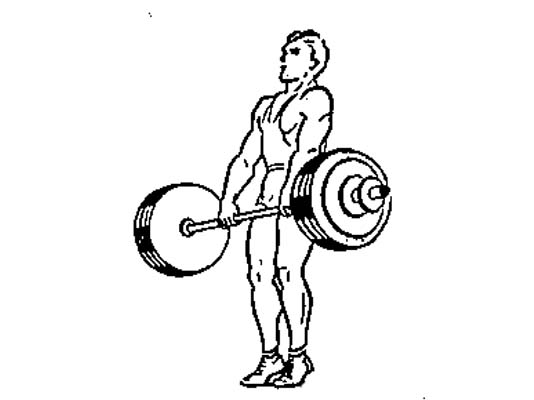
109 | Short List | Snatch First Pull + Snatch Pull | PULL | From the Platform | Full Extension | ![](http://wl-log.com/backend/web/images/exercises/SNATCH-HANG-START.jpg) | ![](http://wl-log.com/backend/web/images/exercises/Snatch-Pull.jpg) | ![](http://wl-log.com/backend/web/images/exercises/Sntach-Pull.gif) |
110 | Short List | Clean First Pull + Clean Pull | PULL | From the Platform | Full Extension | ![](http://wl-log.com/backend/web/images/exercises/Clean-Hang-Start-K-L.jpg) | ![](http://wl-log.com/backend/web/images/exercises/Clean-Pull-End.jpg) | ![](http://wl-log.com/backend/web/images/exercises/Clean.gif) |
111 | Short List | SNATCH from (Hip) Hang | SNATCH | from Hang Hip Level | Over Head | ![](http://wl-log.com/backend/web/images/exercises/PIC-SN-06.jpg) | ![](http://wl-log.com/backend/web/images/exercises/PIC-SN-13.jpg) | ![](http://wl-log.com/backend/web/images/exercises/Snatch-188kg.gif) |
112 | Short List | CLEAN from Different Starting Positions | CLEAN | From Various Starting Position | To the Same Position | ![](http://wl-log.com/backend/web/images/exercises/Clean-Start-from-Hang.jpg) | ![](http://wl-log.com/backend/web/images/exercises/Clean-Fixation-Half-Squat.jpg) | ![](http://wl-log.com/backend/web/images/exercises/Clean.gif) |
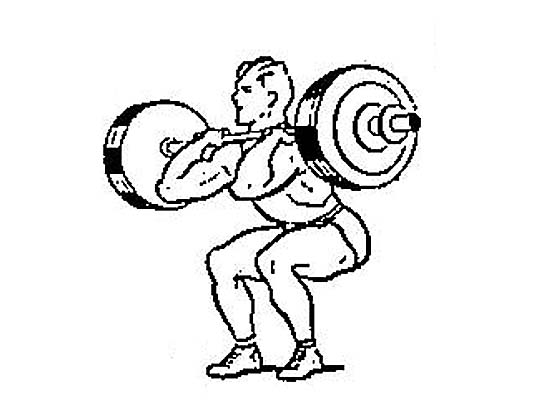
113 | Short List | CLEAN from (Hip) Hang | CLEAN | From Hang | Barbell on Chest | ![](http://wl-log.com/backend/web/images/exercises/Clean-Start-from-Hang.jpg) | ![](http://wl-log.com/backend/web/images/exercises/Clean-Fixation-Deep-Squat.jpg) | ![](http://wl-log.com/backend/web/images/exercises/Clean.gif) |
114 | Short List | Back Squat + Press | COMBINED EXERCISES | Barbell behined the Neck | Over Head | ![](http://wl-log.com/backend/web/images/exercises/Clean-Fixation-Half-Squat.jpg) | ![](http://wl-log.com/backend/web/images/exercises/POWER-JERK.jpg) | ![](http://wl-log.com/backend/web/images/exercises/Power_Clean+Power_Jerk.gif) |
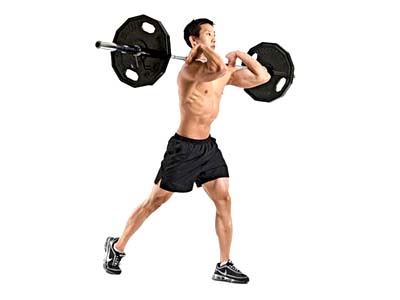
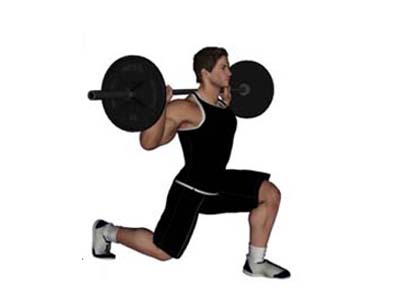
115 | Short List | Front Lunge SQUAT | SQUAT | From Racks | to Deep Split Squat Position | ![](http://wl-log.com/backend/web/images/exercises/Split-Front-SQUAT-START.jpg) | ![](http://wl-log.com/backend/web/images/exercises/Split-Front-SQUAT-END.jpg) | ![](http://wl-log.com/backend/web/images/exercises/Split-Front-SQUAT.jpg) |
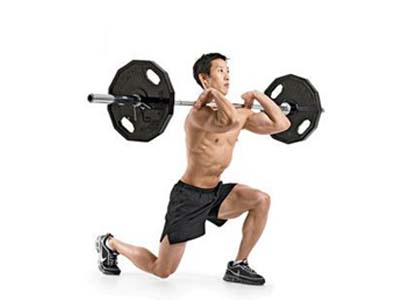
116 | Short List | Back Lunge SQUAT | SQUAT | from Racks | to Deep Squat Position | ![](http://wl-log.com/backend/web/images/exercises/Split-Back-SQUAT-START.jpg) | ![](http://wl-log.com/backend/web/images/exercises/Split-Back-SQUAT-END.jpg) | ![](http://wl-log.com/backend/web/images/exercises/Split-Back-SQUAT.jpg) |
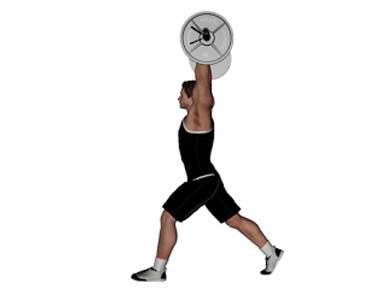
117 | Short List | Overhead Lunge SQUAT (Wide Grip) | SQUAT | From Racks | to Deep Squat Position | ![](http://wl-log.com/backend/web/images/exercises/Overhead-Split-SQUAT-START.jpg) | ![](http://wl-log.com/backend/web/images/exercises/Overhead-Split-SQUAT-END.jpg) | ![](http://wl-log.com/backend/web/images/exercises/Overhead-Split-SQUAT.jpg) |
118 | Short List | Overhead Lunge SQUAT (Narrow Grip) | SQUAT | from Racks | to Deep Squat Position | ![](http://wl-log.com/backend/web/images/exercises/Overhead-Split-SQUAT-START.jpg) | ![](http://wl-log.com/backend/web/images/exercises/Overhead-Split-SQUAT-END.jpg) | ![](http://wl-log.com/backend/web/images/exercises/Overhead-Split-SQUAT.jpg) |
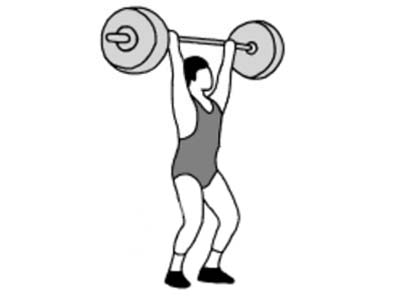
119 | Short List | Shoulder PRESS (Sitting on the Bench) | PRESS | Barbel on the chest Level | Overhead on straightened arms | ![](http://wl-log.com/backend/web/images/exercises/Seated-Press-by-Simon Martirosyan-Start.jpg) | ![](http://wl-log.com/backend/web/images/exercises/Seated-Press-by-Simon Martirosyan-End.jpg) | ![](http://wl-log.com/backend/web/images/exercises/Seated-Press-by-Simon Martirosyan-100x5.gif) |
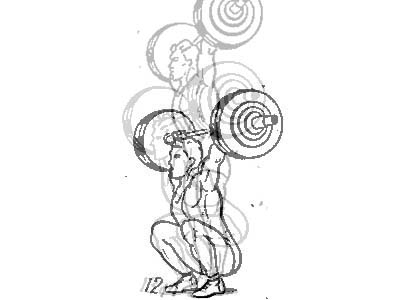
120 | Short List | SNATCH to Different Ending (fixation) Positions | SNATCH | Various starting Positions | Different Ending Positions | ![](http://wl-log.com/backend/web/images/exercises/Dif-Starts-3.jpg) | ![](http://wl-log.com/backend/web/images/exercises/Dif-Ends-3.jpg) | ![](http://wl-log.com/backend/web/images/exercises/Snatch-188kg.gif) |