81 | Long List | CLEAN from Blocks & Power JERK to Half Squat | CLEAN & JERK | From Blocks - Knee Level | Over Head to Half Squat | ![](http://wl-log.com/backend/web/images/exercises/CLEAN-Deep-Squat.jpg) | ![](http://wl-log.com/backend/web/images/exercises/Deep-Half-Squat-Jerk-End.jpg) | ![](http://wl-log.com/backend/web/images/exercises/Clean+Power-Jerk.gif) |
82 | Short List | CLEAN from Blocks & Push-Press | CLEAN & JERK | From Blocks - Knee Level | Over Head - Straight Legs | ![](http://wl-log.com/backend/web/images/exercises/CLEAN-Half-Squat.jpg) | ![](http://wl-log.com/backend/web/images/exercises/CLEAN-&-JERK-END.jpg) | ![](http://wl-log.com/backend/web/images/exercises/Clean+Power-Jerk.gif) |
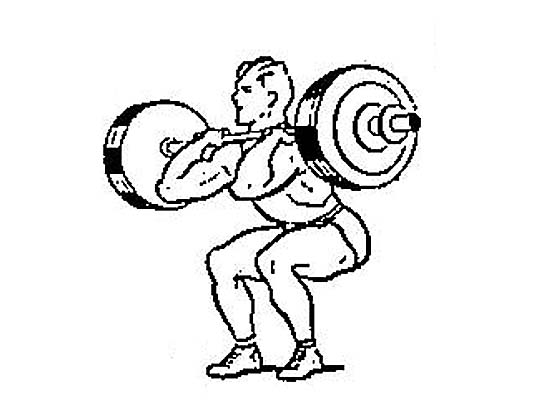
83 | Short List | Power Clean + Squat + Power Jerk | COMBINED EXERCISES | From the Platform | Over Head to Quarter Squat | ![](http://wl-log.com/backend/web/images/exercises/Clean-Power-Fixation-300x400.jpg) | ![](http://wl-log.com/backend/web/images/exercises/Power-Jerk-Fix-300x400.jpg) | ![](http://wl-log.com/backend/web/images/exercises/Clean+Power-Jerk.gif) |
84 | Short List | Snatch Pull + Snatch | COMBINED EXERCISES | From Platform | Overhead to Deep Squat | ![](http://wl-log.com/backend/web/images/exercises/SNATCH-PULL-GEO.jpg) | ![](http://wl-log.com/backend/web/images/exercises/SNATCH-FIXATION.jpg) | ![](http://wl-log.com/backend/web/images/exercises/New-SN-Clip.gif) |
85 | Short List | Muscle Snatch + Snatch Balance + Overhead Squat | COMBINED EXERCISES | From Platform | Over Head to Deep Squat | ![](http://wl-log.com/backend/web/images/exercises/Snatch-No-Squat.jpg) | ![](http://wl-log.com/backend/web/images/exercises/Snatch-Deep-END.jpg) | ![](http://wl-log.com/backend/web/images/exercises/Snatch-240-192-NQ.gif) |
86 | Short List | Push JERK (Behind the Neck) Snatch Grip | JERK (from Chest) | Behind the Neck | Over Head to Quarter Squat | ![](http://wl-log.com/backend/web/images/exercises/Push-Jerk-Behined-the-Neck-Snatch-Grip-Start.jpg) | ![](http://wl-log.com/backend/web/images/exercises/Push-Jerk-Behined-the-Neck-Snatch-Grip-End.jpg) | ![](http://wl-log.com/backend/web/images/exercises/Push JERK (Behind the Neck) Snatch Grip.gif) |
87 | Short List | Clean + Squat + Jerk | COMBINED EXERCISES | Platform | Over Head - Split Jerk | ![](http://wl-log.com/backend/web/images/exercises/Clean-Fixation-Half-Squat.jpg) | ![](http://wl-log.com/backend/web/images/exercises/JERK-SPLT.jpg) | ![](http://wl-log.com/backend/web/images/exercises/Clean-&-Squat-Jerk.gif) |
88 | Short List | Clean + Squat + Power Jerk | COMBINED EXERCISES | Platform | Over Head to Quarter Squat | ![](http://wl-log.com/backend/web/images/exercises/Power-Clean-Pos.jpg) | ![](http://wl-log.com/backend/web/images/exercises/Power-Jerk-Fix.jpg) | ![](http://wl-log.com/backend/web/images/exercises/Power CLEAN & JERK.gif) |
89 | Short List | Snatch + Snatch from Hang | COMBINED EXERCISES | Platform | Over Head | ![](http://wl-log.com/backend/web/images/exercises/SNATCH-Hang-Start-Below-Knees.jpg) | ![](http://wl-log.com/backend/web/images/exercises/SNATCH-Half-Squat-Fixation.jpg) | ![](http://wl-log.com/backend/web/images/exercises/SNATCH to Half Squat.gif) |
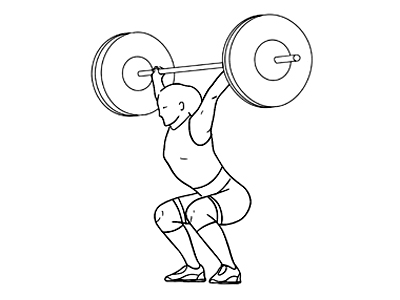
90 | Short List | SNATCH + Push Press + Overhead Squat | COMBINED EXERCISES | Platform | Over Head to Deep Squat | ![](http://wl-log.com/backend/web/images/exercises/SNATCH-Start-Platform.jpg) | ![](http://wl-log.com/backend/web/images/exercises/SNATCH-Half-Squat-Fixation.jpg) | ![](http://wl-log.com/backend/web/images/exercises/Push JERK (Behind the Neck) Snatch Grip.gif) |
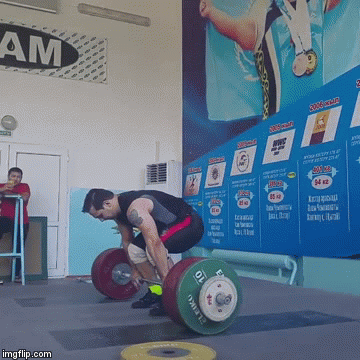
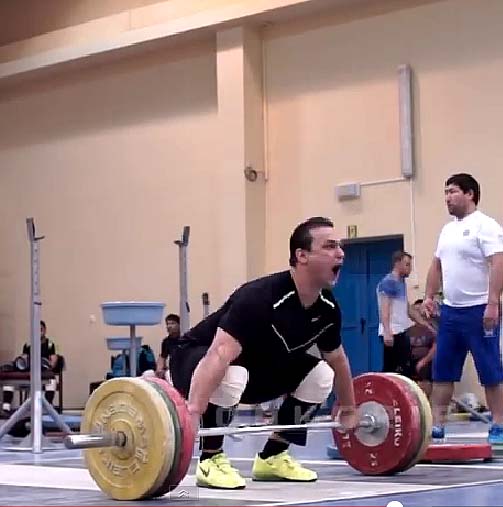
91 | Short List | Snatch PULL from Hang | PULL | Below Knee Level | Full Extension | ![](http://wl-log.com/backend/web/images/exercises/Snatch-Technique-Pics-03.jpg) | ![](http://wl-log.com/backend/web/images/exercises/Snatch-Technique-Pics-09.jpg) | ![](http://wl-log.com/backend/web/images/exercises/Sntach-Pull.gif) |
92 | Short List | THRUSTER (Squat + Push-Press) | COMBINED EXERCISES | from the Chest | Over Head - Straight Legs | ![](http://wl-log.com/backend/web/images/exercises/Clean-Power-Fixation.jpg) | ![](http://wl-log.com/backend/web/images/exercises/Power-Jerk-Fix.jpg) | ![](http://wl-log.com/backend/web/images/exercises/Front-SQUAT-S.gif) |
93 | Short List | Muscle Snatch + Overhead Squat | COMBINED EXERCISES | From the Platform or Hang | Over Head to Deep Squat | ![](http://wl-log.com/backend/web/images/exercises/Snatch-No-Squat.jpg) | ![](http://wl-log.com/backend/web/images/exercises/Snatch-Deep-END.jpg) | ![](http://wl-log.com/backend/web/images/exercises/Snatch-188kg.gif) |
94 | Short List | Recovery Sauna Massage Jacuzzi | JUMPS & ADDITIONAL EXERCISES | Recovery Sauna Massage Jacuzi | Sauna Jacuzzi Massage | ![](http://wl-log.com/backend/web/images/exercises/JACUZZI-31.jpg) | ![](http://wl-log.com/backend/web/images/exercises/download.jpg) | ![](http://wl-log.com/backend/web/images/exercises/sauna-jacuzzi-saint-omer.jpg) |
95 | Short List | PRESS (Behind the Neck) Wide Grip | PRESS | From Stands - Behind the Neck | Over Head | ![](http://wl-log.com/backend/web/images/exercises/Push-Jerk-Behined-the-Neck-Snatch-Grip-Start.jpg) | ![](http://wl-log.com/backend/web/images/exercises/Push-Jerk-Behined-the-Neck-Snatch-Grip-End.jpg) | ![](http://wl-log.com/backend/web/images/exercises/Push JERK (Behind the Neck) Snatch Grip.gif) |
96 | Short List | Snatch Balance + Overhead Squat | COMBINED EXERCISES | From Stands - Behind the Neck | Over Head in Deep Squat | ![](http://wl-log.com/backend/web/images/exercises/Snatch-to-Half-Squat.jpg) | ![](http://wl-log.com/backend/web/images/exercises/Snatch-Deep-END.jpg) | ![](http://wl-log.com/backend/web/images/exercises/Snatch-188kg.gif) |
97 | Short List | Push-Press + Snatch Balance + Overhead Squat | COMBINED EXERCISES | From Stands - Behind the Neck | Over Head to Deep Squat | ![](http://wl-log.com/backend/web/images/exercises/Push-Press-Behind-the-Nekk+OHS-Start.jpg) | ![](http://wl-log.com/backend/web/images/exercises/Push-Press-Behind-the-Nekk+OHS-End.jpg) | ![](http://wl-log.com/backend/web/images/exercises/Push-Press-Behind-the-Nekk+OH-Squat.gif) |
98 | Short List | SNATCH (Different Positions) | SNATCH | Various (Platform - Hang) | Various (Deep or Half Squat) | ![](http://wl-log.com/backend/web/images/exercises/SNATCH-Hang-Start-Below-Knees-300x400.jpg) | ![](http://wl-log.com/backend/web/images/exercises/SNATCH-Half-Squat-Fixation-300x400.jpg) | ![](http://wl-log.com/backend/web/images/exercises/SNATCH to Half Squat.gif) |
99 | Short List | CLEAN to Different Ending (Fixations) Positions | CLEAN | Various (Platform - Hang) | Deep Squat, Half Squat Various | ![](http://wl-log.com/backend/web/images/exercises/Clean-Hang-Start-Aobove-Knee.jpg) | ![](http://wl-log.com/backend/web/images/exercises/Clean-Half-Squat-Fix.jpg) | ![](http://wl-log.com/backend/web/images/exercises/Power CLEAN & JERK.gif) |
100 | Short List | Incline Press | PRESS | on the Incline Bench | On the Bench with Straight Arm | ![](http://wl-log.com/backend/web/images/exercises/Incline_Barbell_Bench_Press.png) | ![](http://wl-log.com/backend/web/images/exercises/Press-chest-incline-press.jpg) | ![](http://wl-log.com/backend/web/images/exercises/Incline_Barbell_Bench_Press.png) |